
How to Fix a Plastic Automotive Bumper Like Pro
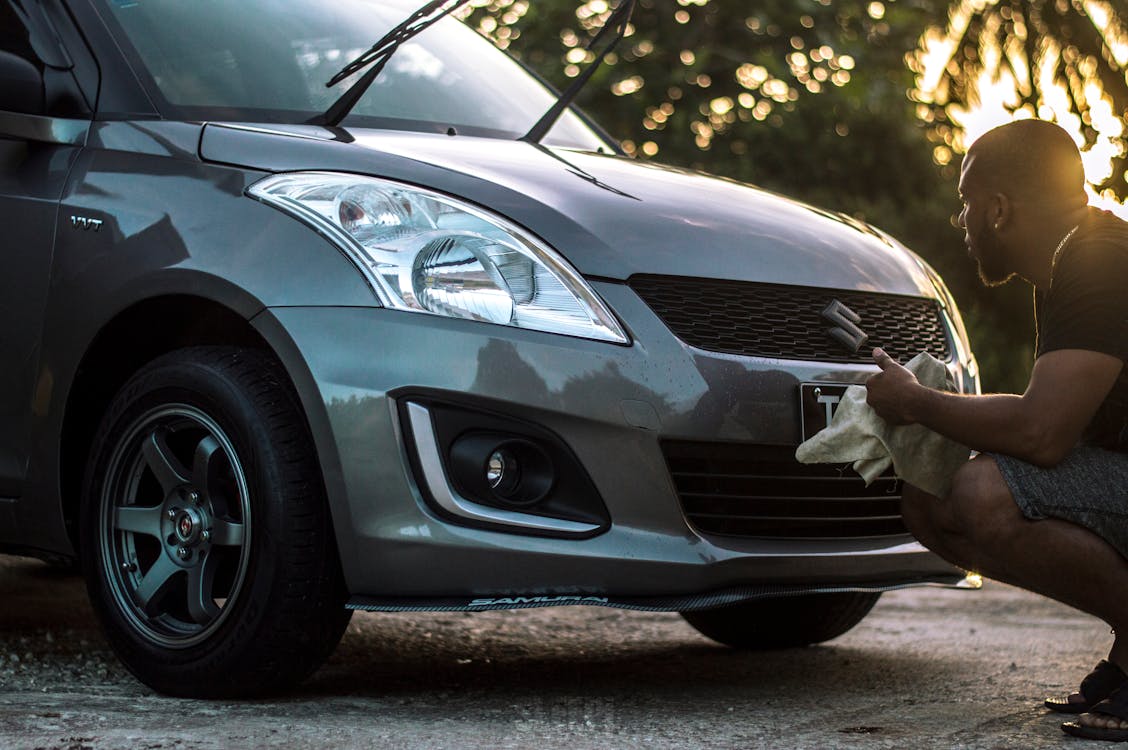
Source: Pexels
Bumpers act as protective covers for your car against collisions and severe damage effects; you cannot do without them. So, if you have a broken bumper, your vehicle will become less protected and most likely be exposed to serious damage or even death during collisions. Whether the damaged bumper is a small crack or a large tear, fixing it as soon as possible is important to prevent further damage.
Fortunately, repairing a plastic bumper is easy with the right tools and techniques. This article will explore two creative ways (bonding and welding methods) to fix a plastic automotive bumper like a pro to have a lasting effect even if you haven’t done it before. Okay, let’s dive in.
Table of Contents
Fixing a Bumper Crack or Tear with a Plastic Bonder
Most automobiles with cracked bumpers are ones that often navigate through rural roads, and a lot of times, replacing them can be quite expensive. Interestingly, the good news is that you can fix your cracked or torn bumper with a plastic bonder through this simple DIY process in no time and at less cost.
Essential tools needed:
- A cutting tool
- A plastic bonder or a bonding agent
- Plastic filler
- Sandpaper
- Cleaning agent.
Step 1: Cut a V-groove
The first step is to cut a V-groove into the backside of the crack to increase the surface area for applying the epoxy adhesion, which serves as a bonding agent or plastic bonder. The damage is then sanded and cleaned. An epoxy adhesion allows you to fix it to create a stronger bond. It can come in other forms like all-purpose glue, superglues, construction adhesive fillers, sealants, and contact adhesives for bonding leather and wooden materials.
Step 2: Apply the Plastic Bonder
Secure the top of the crack with a clamp and hold the front of the gap together with tape. Then, fill in the crack from behind with a plastic bond. Reinforce with a drywall tape and allow the setup to cure overnight. After the plastic bond is dried, it will be rock hard. The crack should be less visible from the front if properly aligned.
Step 3: Sand the Bumper
Sand the front of the bumper around the damaged area. Fill in the cracks with a plastic body filler for cars and progressively remove the filler debris with sandpaper before applying primer.
Step 4: Clean the Area
Apply alcohol, acetone, or use paint thinner to clean the area neatly before applying primer. The primer should be wet-sanded before the paint is applied.
Step 5: Apply Paint
Apply two thin layers of paint and allow to dry for a few hours before handling. After drying, replace the bumper on the vehicle and reattach the fasteners (bolts, nuts, and snaps). Wait a few days for the paint to cure fully before applying wax and polish. If you factor in drying time, the process shouldn’t take more than a day.
DIY Plastic Bumper Welding
Source: Pexels
You don’t need to spend a dime to fix your bump. Just get all the essential tools needed and follow this step-by-step guide below to give your cracked bumper a strong fix by welding. It won’t be like a new bumper, but it’ll look pretty good without replacing it. Here is a step-by-step guide on how to DIY plastic bumper welding:
Some essential tools needed include:
- A plastic welder
- Welding rods
- A scraper
- Heat gun
- Sandpaper
- A cleaning agent
Step 1: Remove the Bumper
First, remove the bumper cover by pulling off some snaps, bolts, and fog lights using a screwdriver. Then, pull out the bumper to have full access to the crack and the dent.
Step 2: Clean the Damaged Area
Use a cleaning agent to clean the damaged area of the bumper thoroughly to ensure that the welding rods adhere properly.
Step 3: Sand the Damaged Area
Sand with sandpaper to rough up the damaged area of the bumper. This will help the welding rods stick to the bumper.
Step 4: Heat the Plastic Welder
Turn on the plastic welder and let it heat up for a few minutes.
Step 5: Insert the Welding Rod
Insert the welding rod into the plastic welder. The welding rod should be the same type of plastic as the bumper.
Step 6: Weld the Bumper
Hold the plastic welder over the damaged area of the bumper and move it back and forth to melt the plastic. As the plastic melts, insert the welding rod into the melted plastic. Move the plastic welder back and forth until the welding rod fully dissolves into the bumper.
Step 7: Smooth Out the Repair
Use a scraper or a 180 grit to smooth out the repair and remove any excess plastic. Also, fill up any tiny holes in the area with a poly flex flexible polyester glazing putty, especially for bumpers, and then smooth it out to prepare the surface for primer.
Step 8: Apply Primer
The primer applied to the plastic surface will provide better anchoring for the subsequent coats of paint. It’ll also prevent the cracking or detachment of the welded bumper.
Step 9: Paint the Bumper
If necessary, paint the bumper with a matching paint to conform with the rest of the car.
A plastic automotive bumper can be repaired with a welding material or bonding agent. Each gives a smooth and lasting solution without breaking the bank.


